**earlier today, I did a post on regular profile pics. This one is about doing an unusual one**
If you're a paranormal geek, getting a good nightvision/IR shot of yourself is key. You can take still shots from video, but you can also fake them or get real ones cheaply.
Fake: Take a shot of yourself with a flash camera at night. Put the shot up on Photoshop and desaturate it so it's black and white. If you want to give it a TV-style nightvision look, adjust colors to lots of green and a little bit of yellow.
Real: Here's an IR light you can use when photographing. It's only 13.98 on Amazon.
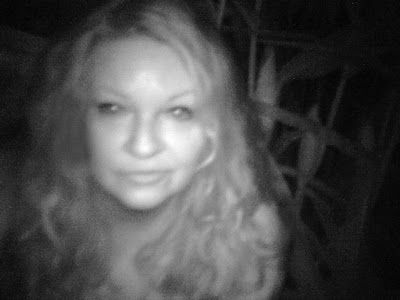
This shot (above) was done by moving slightly while taking the shot. Gives a ghostly effect.

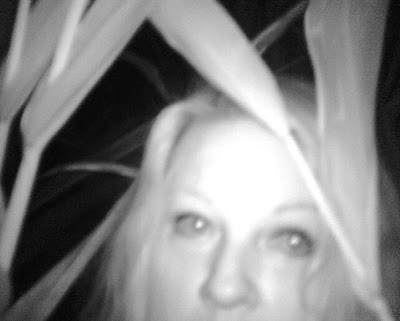
In the right setting, a hint of where you are, an abandoned building, a corn maze, or a cemetery can give you a real "in the field look."
This one (above) was a Blair Witch attempt to create a creepy image that says a bit about what's going on and a lot left to the imagination.
This shot (above) was done to make you wonder -- where is she at night? Why must we hush up?
Your classic head shot can be done in nightvision and it can give it a very cool feel. The light tends to make dark things look like so the effect is disorienting and soulless.
Taking a black and white nightvision shot and tinting it with green and a touch of yellow makes it look like the field IR lights used by the popular ghost shows.
Anyone into anything paranormal should get at least one IR or FLIR shot of himself/herself to use for profile pics and a little memory of field work.


I look better with an IR camera, haha!
ReplyDeleteIf you have access to PS or PSE, you can do the following to a regular pic to achieve that IR look. You'll have to play around with it to get the effect since values in each pic will vary, I won't give you any exact percentages or number here
ReplyDeleteOpen you photo
Open Hue/Saturation
Desaturate the colors individually, playing with lightness. For example, increase lightness on reds and yellows (making up skin tones) and decrease others.
Open your brightness/contrast histogram (not just the slider) so you can control tonal ranges across the spectrum. I can't give you exact numbers to use (that depends on the shot) but play with it until it looks more like a night shot.
Open the lighting effects dialog box and set the light type to Omni and then adjust intensity, ambience, etc.. until you have a tightly focused "spotlight" that is soft.
Use your paint tool, select a sharp-edged brush with a pure white color set to "exclusion" mode and dot the centers of the eyes. If there is a negative highlight appearing as a black dot, blur that out with your blurring tool set to "lighten" mode.
Render a diffuse glow effect in filters. I feel it looks best without grain but that's up to you.
Adjust your hue/saturation levels until you get a green/blue that you like.
You can then do other things
create a halftone layer selected to "lines" instead of "dots" to get horizontal bars like on a video screen and then up the noise for the look of interference grain.
I'll post a pic on the facebook page to show you what I did to one. http://www.facebook.com/#!/pages/Cullan-Hudson/80127763043